Step 3: Target point selection
This is the third step in generating the field notebook.
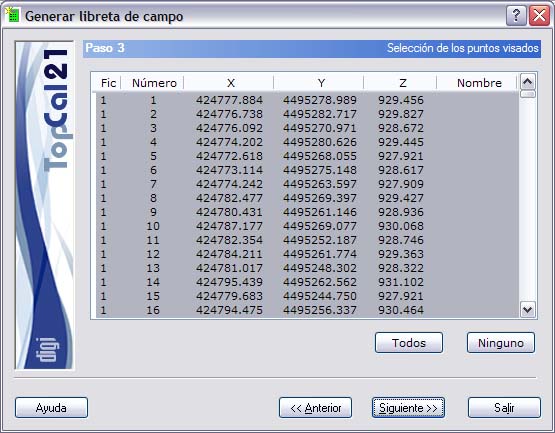
A screen is shown with the points stored in the files selected in Step 1, except the station selected in Step 2. In this step, select the points with which you want to generate the observations.
The list shown contains the following fields:
- File index: Indicates the index of the point file where the point is stored.
- Point number
- Point coordinates
- Point name
You can select multiple points by holding down the [CTRL] key and clicking the desired points with the left mouse button. If you click a point that is already selected, it is deselected.
You can also select points arranged in ranges by holding down the [SHIFT] key and clicking the left mouse button on the boundary points that define the range.
Likewise, you can use the All or None buttons to select or deselect all the points.
When you have selected the desired points, click the Next button to go to Step 4: Output data setup, or click the Back button to return to Step 2: Station setup.