Creating macros with the new Macro toolbar
One of the features that make Digi3D.NET such a productive application is the possibility of creating macro files by the user (commonly called arrobas or macro instructions files) that group a series of commands that then the user can execute in a very simple way.
The disadvantage of creating macro instructions files is that the user must know the names of the commands to execute as well as their parameters.
We have just added to Digi3D.NET a number of improvements that will make life easier for users when creating macro instructions files.
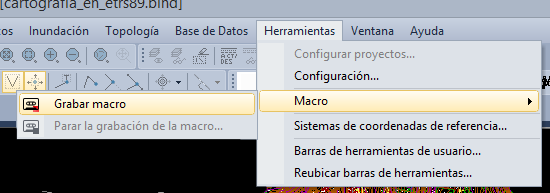 We have added the Tools/Macro/Record a macro menu option that allows you to start recording a macro (you also have the Macro toolbar)
When we select this option, Digi3D.NET enters macro recording mode, which you can check because a red frame appears in the drawing window (indicating that all operations are being stored).
From this point on, it begins to memorize the names of the commands you are running, as well as their parameters, regardless of whether you run them from the command line or from the menu or a toolbar.
When you are done, you can select the menu option Tools/Macro/Stop macro recording...
A task box will appear asking where you want to store the commands that have been memorized, giving you two possibilities:
- Assign the macro to a keystroke
- Create a macro file
If you select the first option, Digi3D.NET will execute the command KEY with those pre-configured commands. When you press the key to which you want to assign the macro, you will see the key assignment dialog box filled.
If you select the second option, a new dialog box will appear that allows you to create a macro file. This dialog box will create the macro file by automatically adding the @ prefix to the file name.
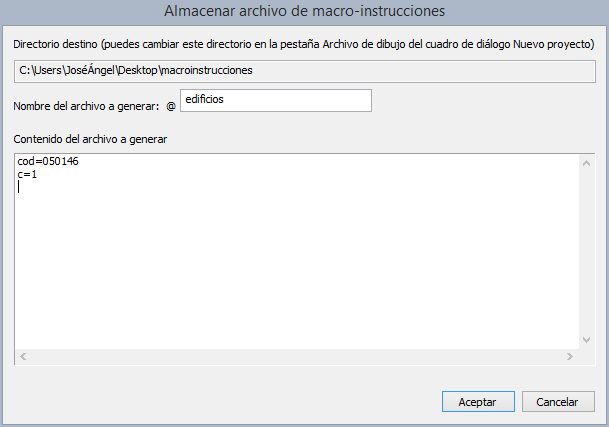 You can see this new functionality in the video below.
[youtube:http://youtu.be/iT9dCVi1wGg]