Displaying point entities as an image
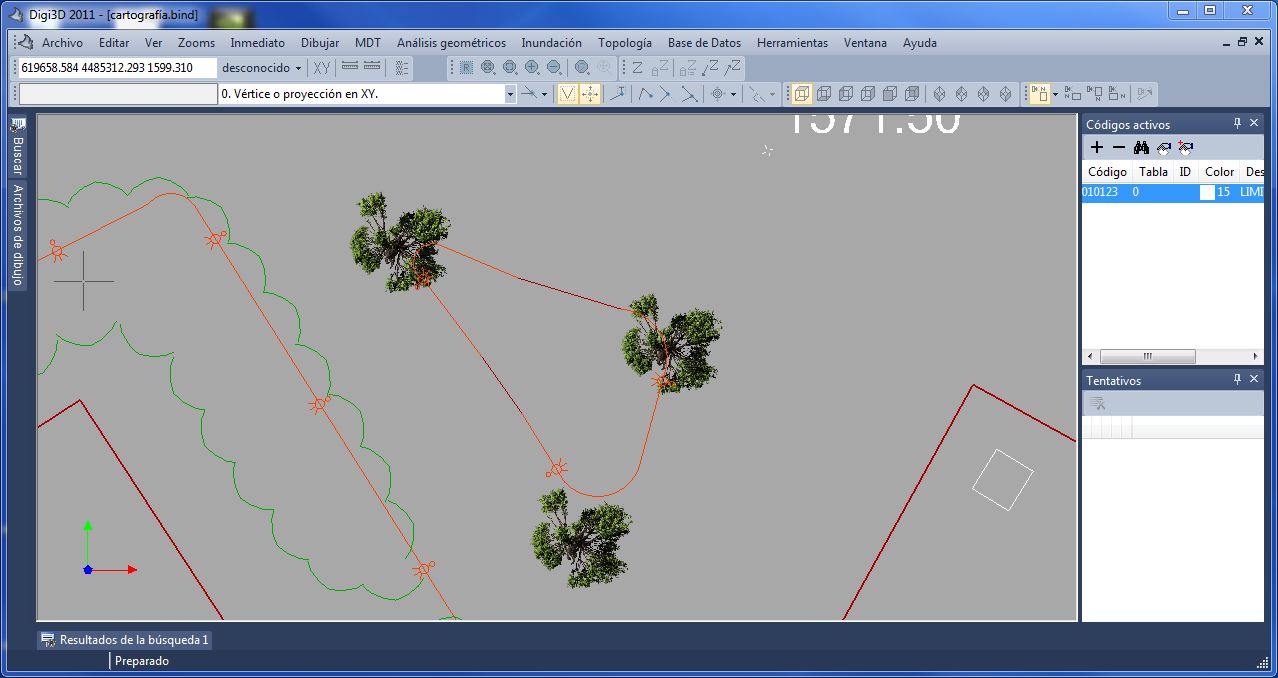 DigiNG.NET allows us to select an image to represent a point. Thanks to this feature we can improve the appearance of our maps.
To make a point represented with an image we have to follow these steps:
- Copy the image we want to use in the symbol directory of DigiNG.NET (the one you indicate in the Drawing file tab in the New project dialog box.
- Create a style in the code table whose symbol is the image that interests us.
- Indicate in the code in question that the style to be used is the style that has selected the image.
- Activate the pattern.
If, when loading a code table, an image with a format supported by DigiNG.NET (.bmp, .tif, .jpg, .j2p, .ecw, .sid) is located in the symbol directory, this image will be automatically loaded into the texture memory of the graphics card.
As the memory of textures of the graphics card is not infinite, I recommend you use small textures. In addition, this memory is a special memory, because you can only load textures whose width or height is a number power of 2, which means that if for example we have a texture of 1025x640 pixels, the memory to request to the graphics card will be 2048x1024, so much memory will be wasted unnecessarily.
You can create yourself the textures to use programs like Paint, Paint.NET (the one I usually use), or professional tools like PhotoShop or The Gimp or taking a picture of a real object.DigiNG.NET also supports channel alpha, so you can make holes in the texture playing with this value.
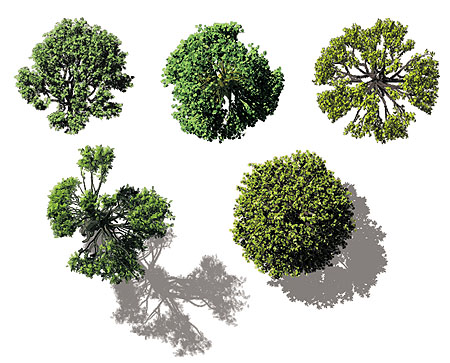
If you don't want to waste time creating textures, I recommend you buy textures from companies that make textures professionally as in DOSCH Design that have textures of different types of trees at bird's eye view for only 69€ and is the one I have used in the screen cap that heads this post.